Remember Gary Chapman’s book about the love languages? I see truths in it. Chapman’s premise centers on ways a couple demonstrate love to one another: words of affirmation, quality time, gift-giving, acts of service, and physical touch. Actually, this communication and service go beyond couples in a committed relationship. I think one can demonstrate loving language to any one. Of course, there may be parts that are off limits. For example, I have a co-worker that gives me vegetables from his garden, but I can’t imagine that we’ll ever exchange hugs!
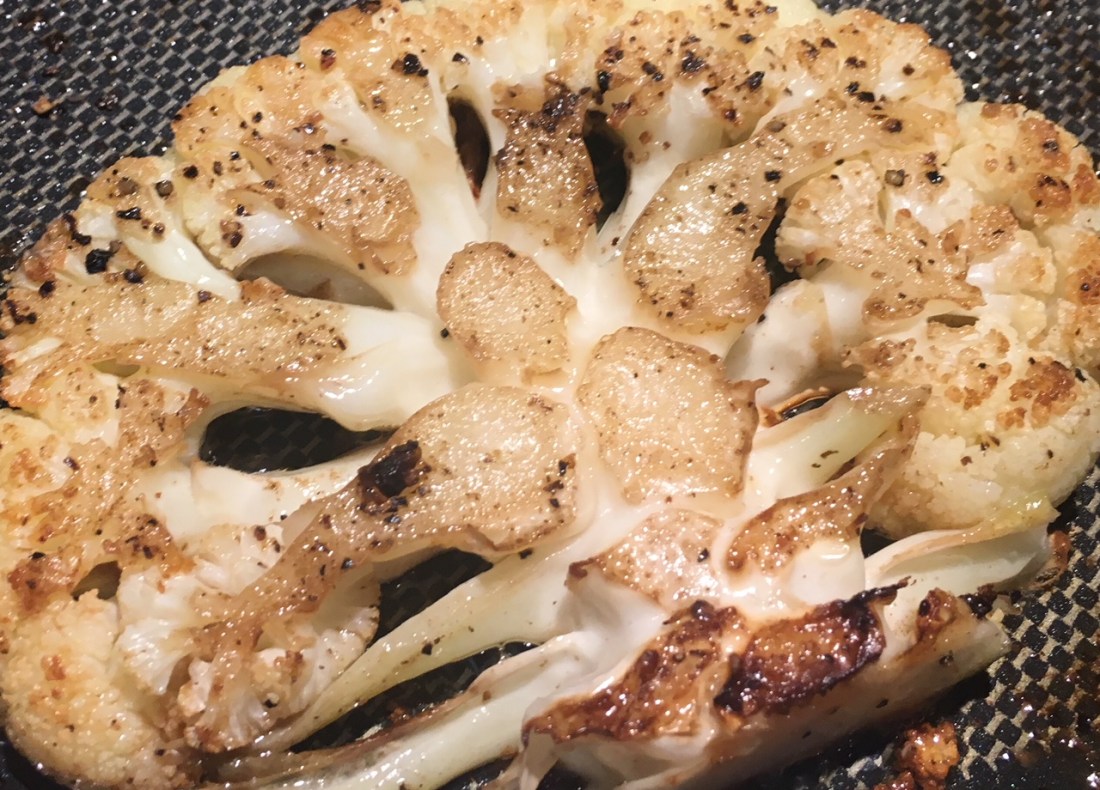
So why is my featured photo a cauliflower steak? I think I share the love language of cooking with my spouse. We certainly share the desire to eat tasty and creative foods. Cooking together, I suppose, falls into the love languages of “quality time” and “acts of service”. Our meals together seem to be an affectionate time of the day, so I share our delicious meal tonight: grilled salmon, cauliflower steak, and rice with my ginger-soy-shallots-quince sauce.
First, I made a marinade for the salmon. In the bottom of a rectangle glass cake pan, I added:
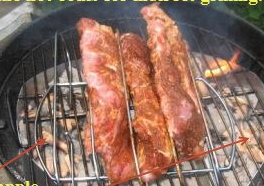
2 tablespoons (28g) sesame oil, 1 tablespoon (14g) grated ginger, 1 teaspoon (4g) garlic powder, grated pepper, 3 Tablespoons (42g) soy sauce, and a splash of teriyaki sauce to assure browning. Mix it in the glass cake pan. Then add salmon skin side up. Smear the salmon in the marinade, and then repeat on the skin side. Grill on the skin side down, with the grill lid closed, until it reaches an internal temperature of 145 degrees F. (63 C) taken on the thickest part of the flesh.
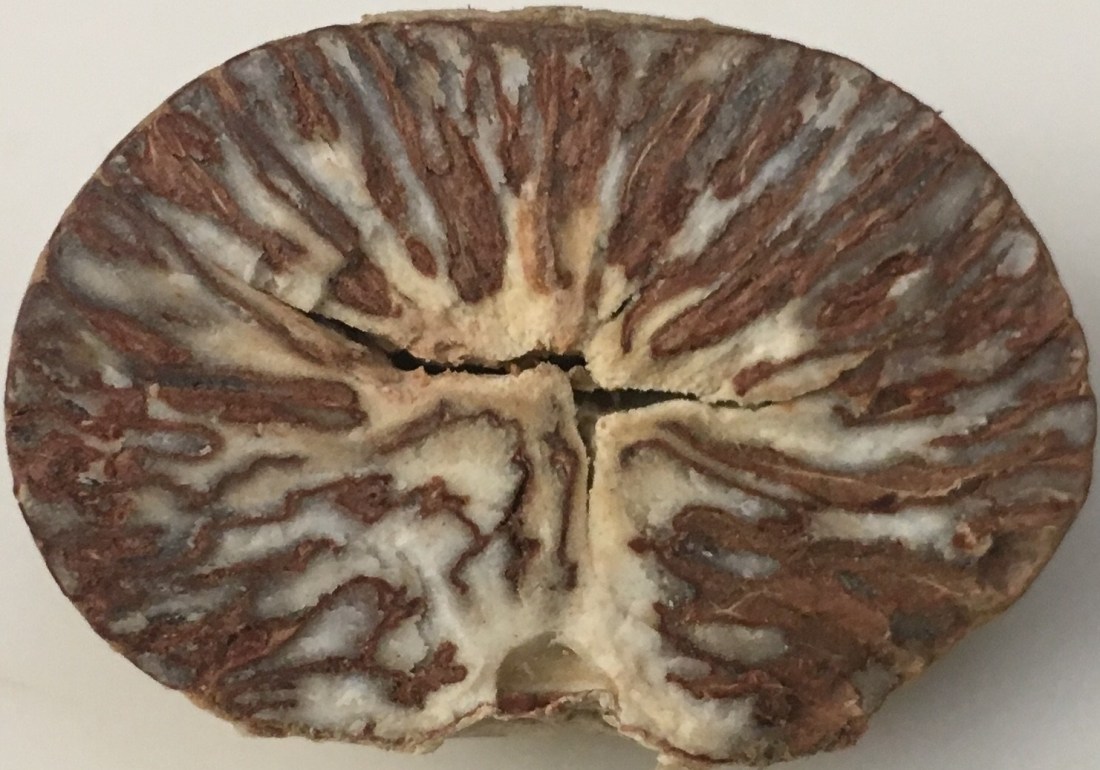
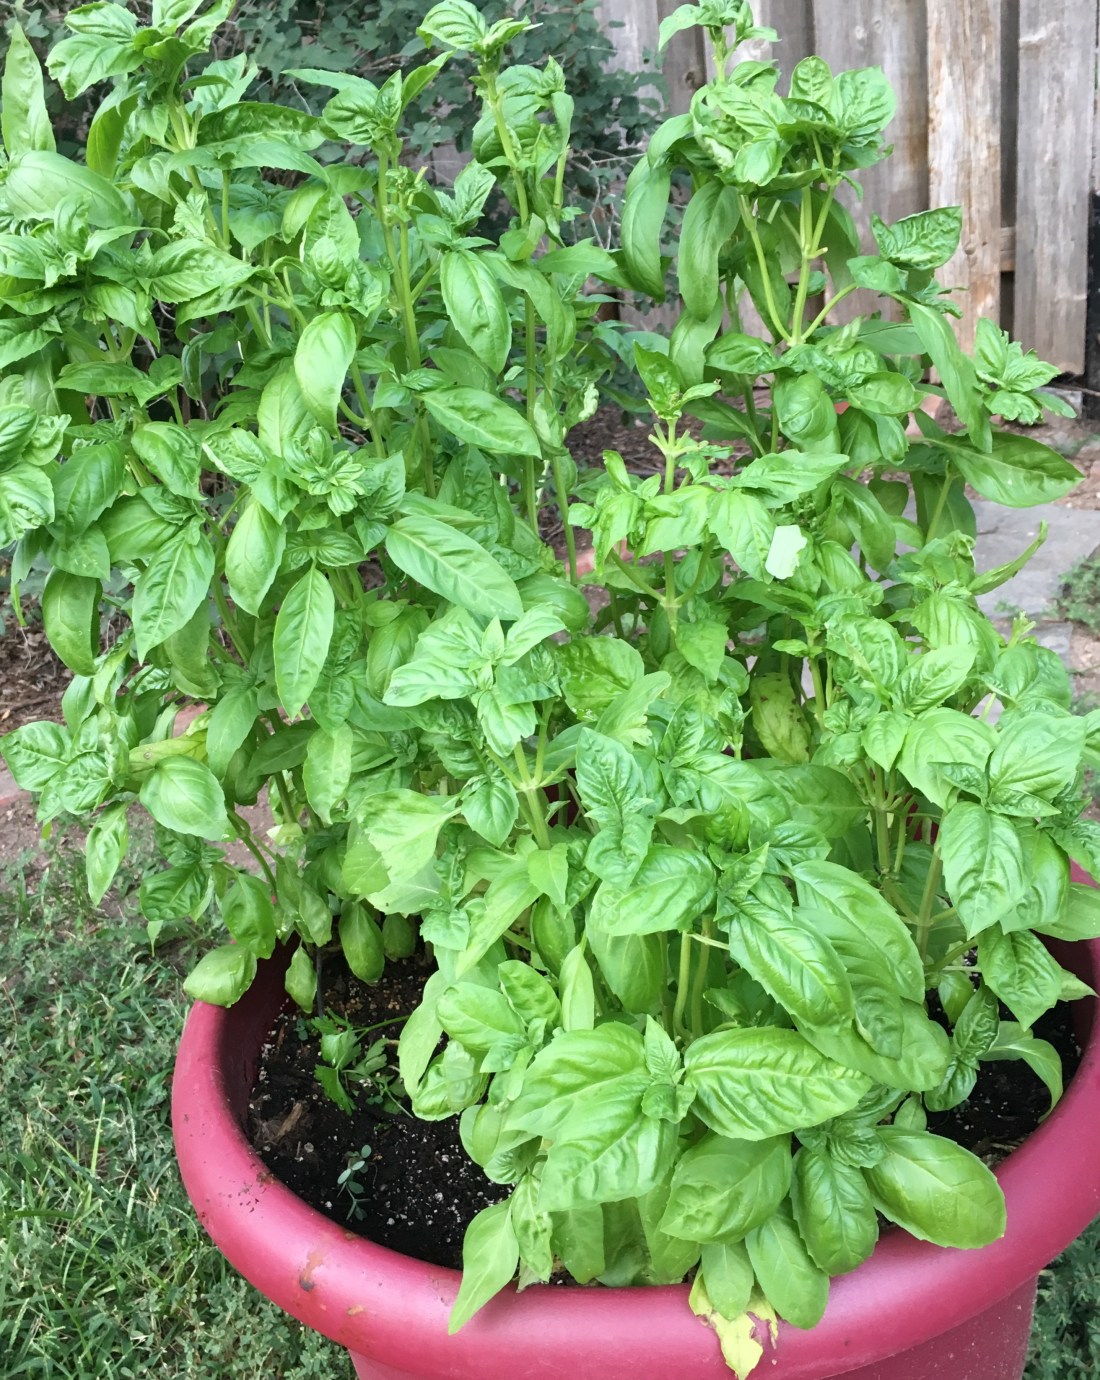
I cook my rice in a rice cooker, and we usually put start it in the morning, and it stays warm until we’re ready to use it. For the rice, I made a sauce. We have a quince tree in the front yard. It produces about six pieces of fruit on a good year. Quince, related to apples, adorns a yard quite beautifully. It blooms a lovely pink blossom in the spring, and turns a pale yellow in the fall. The quince tree protects itself from predators with long thorns, which make harvesting the fruit a bit perilous. My harvest take today was one piece of fruit. Here’s the tree in the spring.

The fruit packs a wallop in pectin, so it’s prized for thickening jams. The one tiny, little fruit added pectin to thicken my sauce, and a sort of glutamate flavor enhancer. Here’s my recipe for the rice sauce. I’m not going to call it a gravy, because it’s not heavy. It’s a light sauce.
2 cloves garlic, 2 TBS (28g) sesame oil, 2 chopped green onions (set one chopped green onion aside for the final garnish), 2 TBS (28g) chopped ginger, 1 peeled and grated quince. (If you don’t have a quince, grate a half small apple), and 3 TBS (42g) soy sauce . Cook all ingredients until it begins to thicken. Add 1 cup (.23 kg) water. Continue to simmer until thickened.

As featured in the header, the cauliflower was cooked in butter with some added salt and pepper. Now it’s time to eat!

We usually eat our Asian-inspired rice dishes with chop sticks. Here’s the rice. To finish it, I sprinkled it with the chopped green onion and toasted sesame seeds. We added a nice white wine, and watched Robin Hood with Russell Crowe (old movie). Voilà!

Thank you for reading!